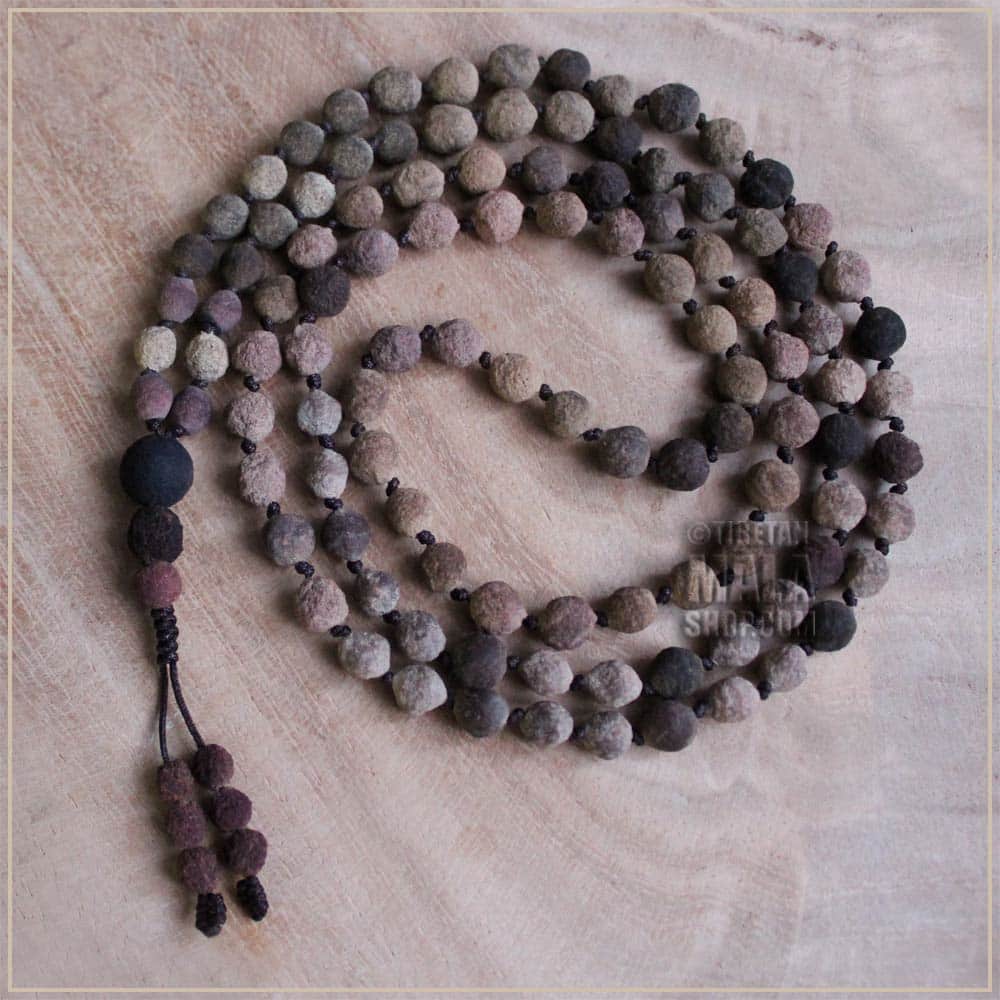
Posted on

How to make Rose Petal Beads

Rose Petal Beads

Rose Petals & pure water are cooked & blended to form a “clay” that is hand rolled into beads. Making beads from rose petals is a lengthy process! As each bead is rolled it is blessed & infused with the multiplying mantra ~ OM RUCHIRA MANI PRAVARTAYA HUM

Once dry, the beads are strong and hard. The natural fragrance of the rose petals gives the beads a delicate scent. We don’t add any fragrance, or anything else, just rose petals & spring water. Please don’t get them damp, wet or spray perfume near them.

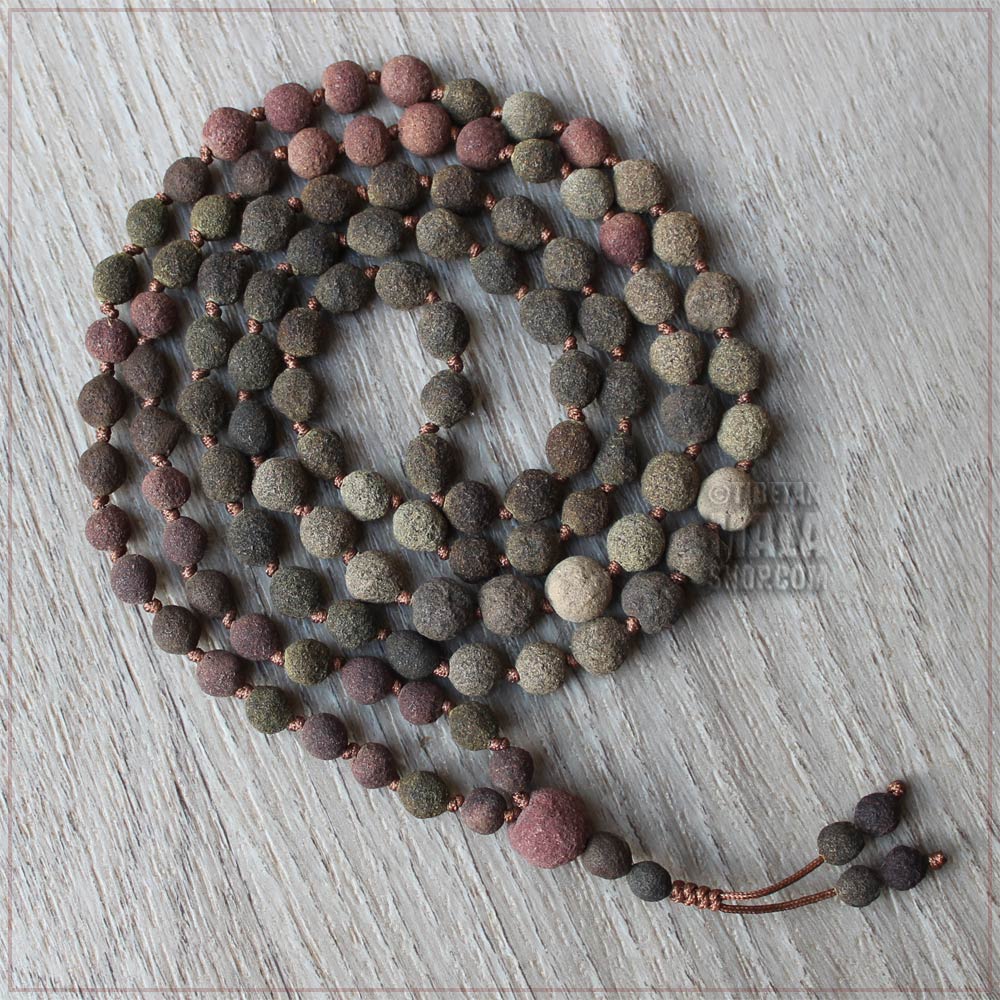
Follow our 12-step process below to see how we craft each bead. The finished 108 bead rose petal malas can be purchased here from our online shop. We offer a wide selection of rose petal beads for custom malas. Simply email us with your request to begin your order.

Watch our step-by-step video guide on our YouTube channel to see the rose petal bead making process in action.
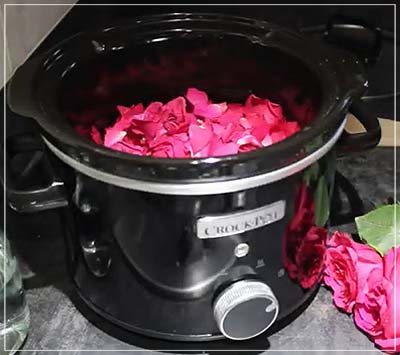
STEP 1.

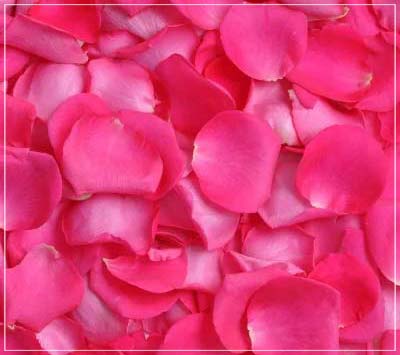
Collect fresh or dried rose petals. If using fresh petals, wash them with clean water

Rose Petals

STEP 2.

Cut the petals into small pieces and place in a slow cooker with spring water, just enough water to cover them
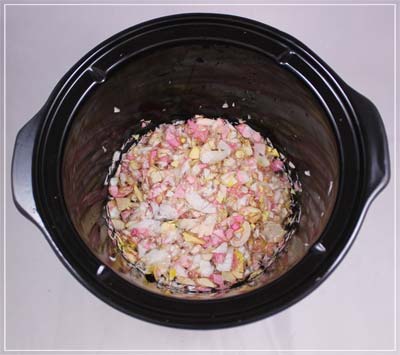
Cook the Petals in a Slow Cooker

STEP 3.

Cook on medium heat for several hours, or until the rose petals soften and become slightly transparent
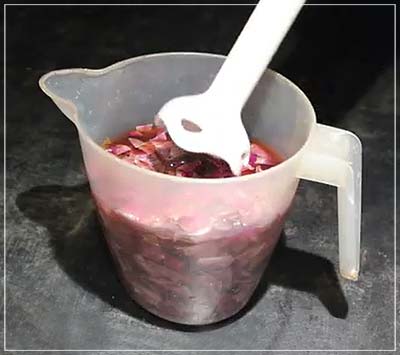
Cooking Rose Petals

STEP 4.

Cool the petals, transfer them to a jug and blend using a hand blender
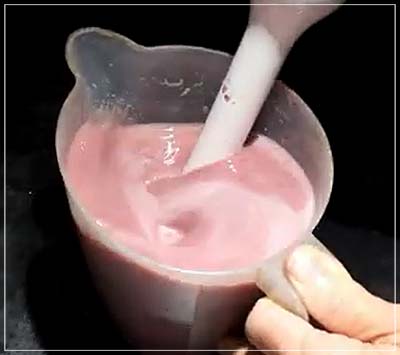
Cool and Blend the Petals

STEP 5.

Blend the rose petals until smooth and all lumps are gone, the consistency of cream or a smoothie
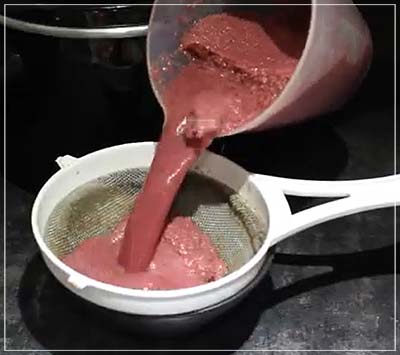
Blend the Rose Petals until smooth

STEP 6.

Leave the mixture to settle for a couple of hours then sieve it to remove excess water
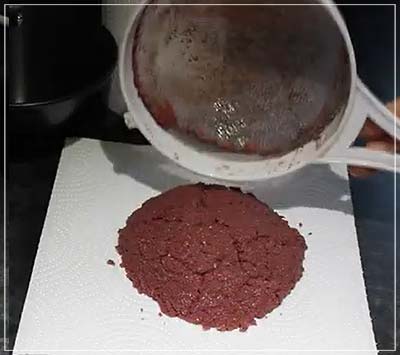
Sieve the mixture

STEP 7.

Leave to dry over night, then turn out the sieved rose petal pulp on to kitchen paper to dry out further
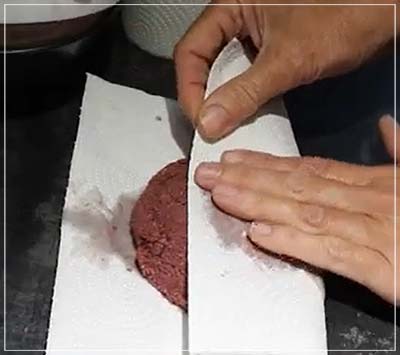
Rose Petal Pulp

STEP 8.

Wrap the pulp in kitchen paper and leave to dry. Knead and change the kitchen paper every few days
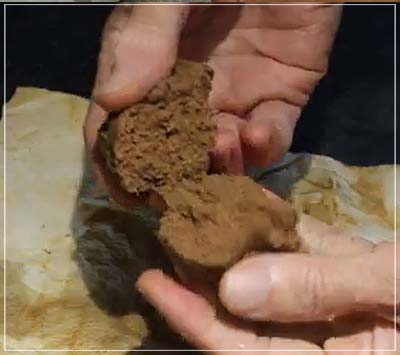
Wrap the Rose Petal pulp and leave to dry out

STEP 9.

After 2 weeks the pulp is like plasticine and ready to make the beads
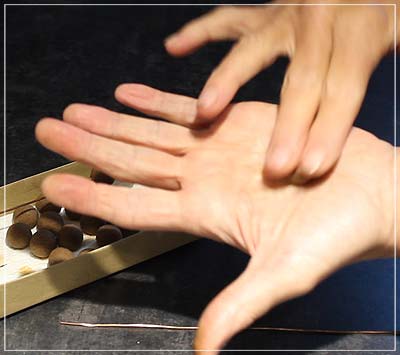
Dry the pulp

STEP 10.

Compress and pat small pieces of pulp, and roll them into round balls
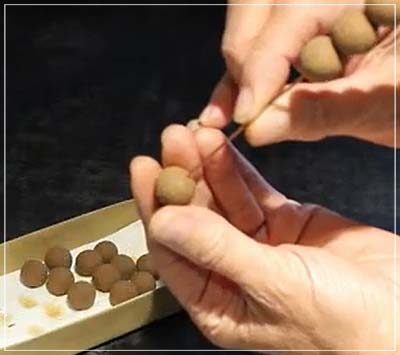
Roll the Pulp into round beads

STEP 11.

Let the beads set overnight, then thread a wire through the middle of each bead to form the hole
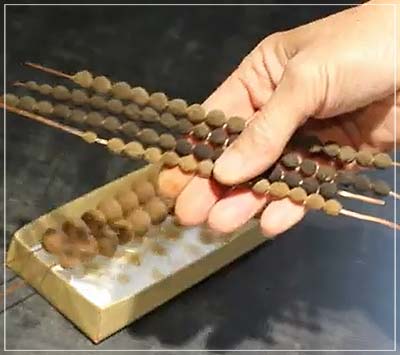
Making the hole

STEP 12.

Allow the beads to dry for several weeks, then string them together to create your mala beads or bracelet

Dried Beads

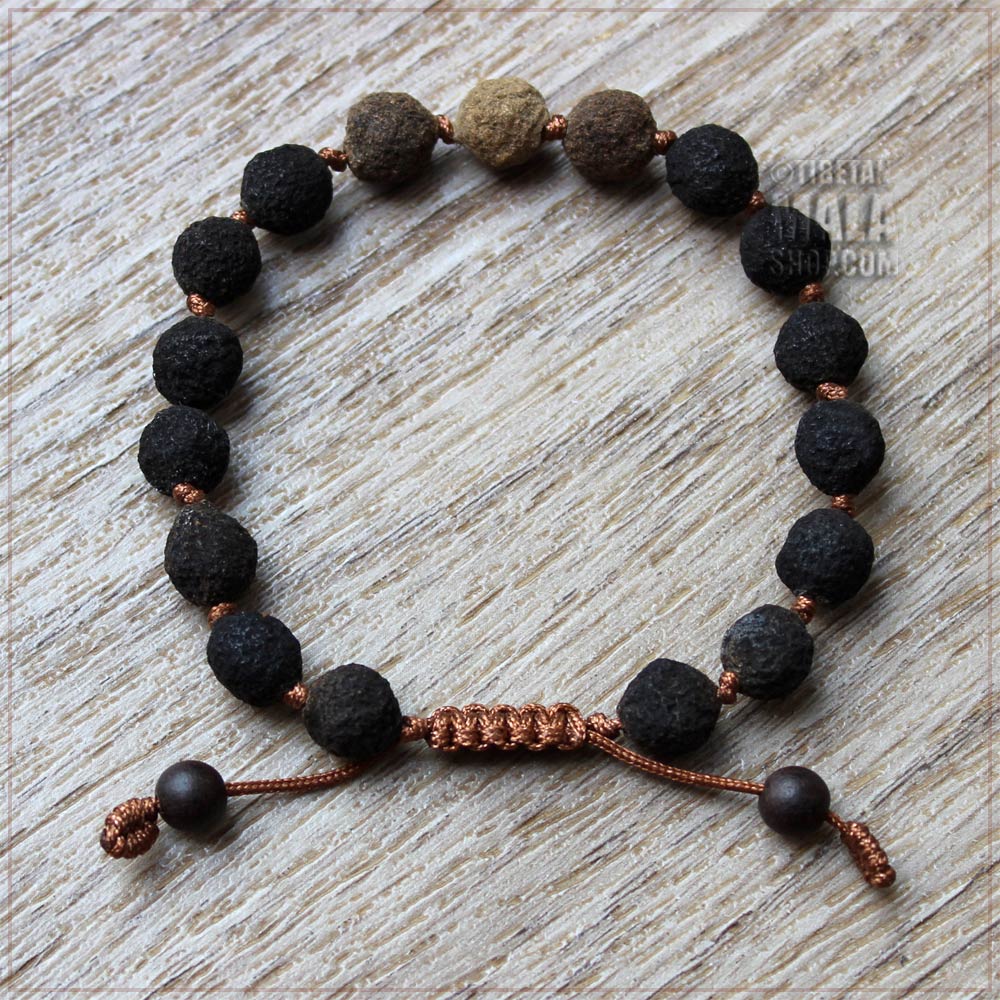
Rose Petal Malas & Bracelets

rose petal malas
rose petal malas
rose petal bracelet
rose petal bracelet
108 bead rose petal knotted mala
Posted on

Making a Bronze Statue

Yellow Hat Buddhist Monk Bronze Statue

The process of making a cold cast bronze statue starts with sculpting the original statue using sculptor’s plasteline. Plasteline is a much more detailed medium than clay, although it does take longer to get a smooth finish. Creating the original takes hours and hours of detailed work – this is by far the longest part of the whole process.

The subject is a Buddhist monk sat in meditation in the lotus position with hands holding a bowl of nectar. He wears traditional monks robes and the distinctive and beautiful yellow hat. The yellow hat is associated with the Gelug Pa tradition of Tibetan Buddhism. The Gelug Pa, or Gelug, tradition was founded in the 14th century by Lama Tsongkhapa (1357 – 1419).

The goal of this sculpture, as with all works of art, is to transmit the energy and feelings of the sculptor’s intention through the medium, in this case through a bronze statue. We wanted to convey calm, steady, uplifting and aligned energy through the sculpture so when viewed this energy is imparted to you, giving meaning and purpose to the artwork.

The 7 step process is detailed below. The finished sculpture can be purchased here in our online shop. We are now in the process of making the next sculpture, so watch this space!

STEP 1.

Preparing the sculpture for casting with a circular cardboard barrier to prevent the silicone from flowing away

Step 1 - Bronze Statues Buddhist Monk

STEP 2.

The first coat of silicone is applied with a brush ensuring all detail is covered with no air bubbles

Step 2 - Bronze Statues Buddhist Monk

STEP 3.

The silicone is thickened and applied in a thick paste. Each layer is applied when the previous layer is touch dry.

Step 3 - Bronze Statues Buddhist Monk

STEP 4.

When the silicone is an inch thick it is left to fully cure and dry for several days

Step 4 - Bronze Statues Buddhist Monk

STEP 5.

The silicone mould is cut at the back with a sharp scalpel, in a zig zag style, to release the statue inside

Step 5 - Bronze Statues Buddhist Monk

STEP 6.

Powdered bronze is applied to the inner surface of the mould before adding a mix of 70% bronze powder suspended in 30% resin

Step 6 - Bronze Statues Buddhist Monk

STEP 7.

The statue is released from the mould, then the final and 7th step is to lightly sand and polish the figurine to reveal the beautiful deep golden sheen of the bronze.

Bronze Statue Collection